
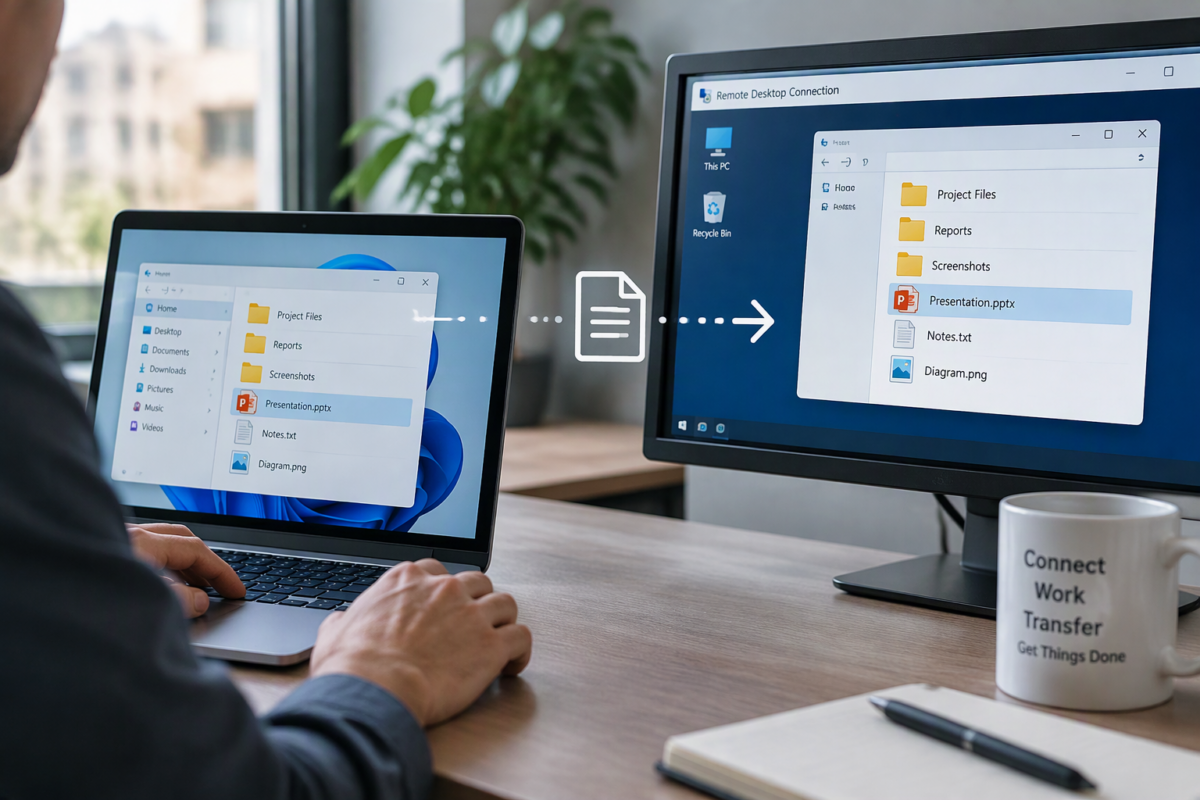
How to Transfer Files Through Remote Desktop: The Complete Cross-Platform Guide
Managing workloads across multiple environments often requires moving assets between local computers and remote instances. Whether you are maintaining a server deployment, administering virtual systems, or logging into an office workstation from home, knowing how to transfer files through Remote Desktop Connection (RDP) effectively is vital for continuous productivity.
This comprehensive guide details the precise configurations needed to copy and move files seamlessly across Windows-to-Windows, Mac-to-Windows, and Windows-to-Mac configurations. It also covers how to successfully bypass strict firewalls when operating over the public internet or a secured corporate VPN.
Method 1: Windows-to-Windows File Transfers
Windows environments utilizing native Microsoft RDP provide the tightest integration for local asset movement. When working within these systems, you have two primary, non-destructive transport mechanisms.
Approach A: Native Clipboard Redirection (Copy & Paste)
The simplest method to migrate individual documents, scripts, or archives is via the standard system clipboard.
-
- On your local Windows computer, navigate to the target file, right-click it, and select Copy (or execute the
Ctrl + Cshortcut). - Maximize or bring focus to your active Remote Desktop Connection window.
- Navigate into the desired target directory or onto the desktop background within the remote machine, right-click an empty space, and select Paste (or execute the
Ctrl + Vshortcut).
- On your local Windows computer, navigate to the target file, right-click it, and select Copy (or execute the
Approach B: Local Storage Redirection (Drive Mapping)
For batch transfers, larger payloads, or ongoing development workflows, mapping your physical local storage drive straight into the remote server environment is highly recommended.
-
- Terminate any active sessions and launch the standalone Remote Desktop Connection client on your local computer.
- Click the Show Options dropdown toggle in the lower-left corner to reveal advanced parameter tabs.
- Switch over to the Local Resources tab.
- Locate the “Local devices and resources” section at the bottom. Verify that the Clipboard option is checked, and then click the More… button.
- Expand the Drives tree by clicking the
+symbol. Check the individual boxes next to the local hard drives (e.g., Local DiskC:) that you wish to access remotely. - Click OK, navigate back to the General tab, and click Connect.
- Once the session establishes, open **File Explorer** inside the remote OS and select **This PC**. Your local physical drives will be mounted dynamically under the **”Redirected drives and folders”** header, allowing standard drag-and-drop operations.
Approach C: The Modern “Windows App” Interface
In addition to the legacy Remote Desktop Connection client, users running current iterations of Windows 11 and Windows 10 can utilize the modern unified Windows App (formerly the Windows 365 or Remote Desktop app available in the Microsoft Store). This updated interface streamlines multi-session administration while retaining core data migration capabilities.
-
- Launch the Windows App on your local machine.
- Locate your saved virtual machine or remote PC card under the “Devices” tab. Click the three dots (…) icon on the top-right corner of the device card and select Settings.
- Locate the Local Resources or Devices & Audio toggle panel within the configuration window.
- Ensure the toggle switch next to Clipboard is enabled to allow quick copy-and-paste shortcuts. Below that, turn on the option for Storage or Drives to instantly grant the session access to your local physical storage arrays.
- Save your preferences and launch the connection. Like the classic client, your storage volumes will automatically map directly inside the target system’s File Explorer workspace.
Method 2: Mac-to-Windows File Transfers
If you are working from a macOS desktop or laptop and remoting into a target Windows host using the official Microsoft Remote Desktop app (distributed via the Mac App Store), direct clipboard object copying is usually restricted. Instead, folder redirection must be manually declared before initiating the connection.
-
- Launch the Microsoft Remote Desktop application interface on your Mac.
- Locate your saved remote PC connection card, right-click it, and select Edit.
- Along the top row of the configuration pane, click on the Folders tab.
- Check the box labeled Redirect folders.
- Click the `+` (Plus) icon located in the bottom-left area, browse your local Mac directory to select the specific repository you want to share (such as your *Downloads* or *Desktop* folder), and click Open.
- Click Save to commit the structural changes and double-click the connection card to log in.
- Inside the active Windows session, launch **File Explorer** and click **This PC**. The designated folder from your Mac will be accessible as a mapped network storage allocation.
Method 3: Windows-to-Mac File Transfers
Because macOS does not natively host a standard Microsoft RDP server endpoint, connecting from a Windows workstation to a Mac requires alternative handling. When both machines sit on the same local area network, leveraging native file sharing protocols is the most direct approach.
-
- On the target Mac, navigate to System Settings > General > Sharing and toggle the File Sharing switch to enabled.
- Click the inline information icon
(i)to view the machine’s local network path address, which typically initializes as an SMB string (e.g.,smb://192.168.1.5). - Switch over to your Windows PC, press the
Windows Key + Rto trigger the Run dialog, convert the forward slashes to backslashes, and type the IP location (e.g.,\\192.168.1.5). Press **Enter**. - When prompted by Windows Security, supply the authorized administrative username and password credentials belonging to the Mac to mount a direct file-system window.
Managing File Transfers Over Corporate VPNs and the Internet
When operating over the open internet or through an encrypted enterprise VPN tunnel, strict perimeter firewalls frequently block local network discovery (SMB paths) and drive redirection protocols to enforce data compliance. If you find your standard RDP redirection pathways non-functional due to network policy, use these secure alternatives:
-
- Enterprise Cloud Ecosystems: Utilizing corporate storage platforms like OneDrive, Microsoft SharePoint, or Google Drive acts as a reliable intermediary. Upload assets through your local browser over HTTPS (which uses standard web traffic ports that firewalls explicitly leave open) and retrieve them within the remote workspace. If your architecture relies heavily on public clouds, using configuration tools like a dedicated Microsoft Azure CSP dashboard can help streamline asset syncs across hybrid environments.
- Isolated Target Hosting: For sensitive corporate codebases or secure databases where public cloud endpoints are restricted, deploying assets within fully unmanaged, standalone architecture remains ideal. Running dedicated platforms via robust Hosting Services allows systems administrators to maintain complete root access and safely configure independent Zero Trust boundaries for file synchronization.
Troubleshooting Disrupted RDP File Transfers
If file transfers fail to execute despite configuring the options correctly, the underlying synchronization daemon may have stalled, or system policies could be overriding your setup.
1. Restarting the RDP Clipboard Process
If text or file copying randomly stops working mid-session on a Windows host, the background utility responsible for monitoring shared clipboards has likely crashed. You can force-restart it manually:
-
- Inside the remote desktop session, press
Ctrl + Shift + Escto launch the Task Manager. - Under the Processes tab, scroll down to locate **RDP Clipboard Monitor** (internally recognized as
rdpclip.exe). - Right-click the process and choose **End Task**.
- Press the
Windows Key + R, inputrdpclip.exeinto the open field, and hit **Enter** to reinitialize the daemon.
- Inside the remote desktop session, press
2. Auditing Group Policy Restrictions
In tightly managed networks, internal IT policies explicitly force-disable local device mapping. If you require these capabilities for server configuration, an administrator must update the internal rules:
-
- Open the Local Group Policy Editor by entering
gpedit.mscin the Run prompt. - Navigate down the following path:
Computer Configuration > Administrative Templates > Windows Components > Remote Desktop Services > Remote Desktop Session Host > Device and Resource Redirection. - Ensure both “Do not allow Clipboard redirection” and “Do not allow drive redirection” are set to Disabled or Not Configured.
- Open the Local Group Policy Editor by entering