How to Transfer Your Website, Domain, and Email Accounts from GoDaddy, Hostinger, BlueHost, and BigRock to Systron.net

Section 1: Transferring from GoDaddy to Systron.net

Introduction:

Moving your website, domain, and email accounts from GoDaddy to Systron.net involves a few key steps. In this tutorial, we’ll guide you through each stage, complete with screenshots, so you can seamlessly migrate to Systron.net without data loss or downtime.


Step 1: Prepare for the Transfer

  1. Log into your GoDaddy Account
  2. Unlock Your Domain
    • Go to “My Products”“Domains”.
    • Locate the domain you wish to transfer and click “Manage”.
    • Scroll down to find the “Additional Settings” section.
    • Click on “Domain Lock” and toggle it off.
  3. Get the Authorization Code (EPP Code)
    • In the same “Additional Settings” section, click on “Get Authorization Code”.
    • The code will be emailed to your registered email address.
  4. Disable Privacy Protection (if applicable)
    • If you’ve purchased domain privacy protection, go to “Domain Privacy” settings and disable it.

Step 2: Backup Your Website and Email Accounts

  1. Website Backup:
    • Access GoDaddy’s cPanel.
    • Navigate to “Files”“Backup Wizard”.
    • Click “Backup”“Full Backup” and select the directory where your website files are stored.
    • Once the backup is generated, download the .tar.gz file to your local system.
  2. Email Backup:
    • If using GoDaddy’s email service, open your email client (e.g., Outlook).
    • Go to “File”“Open & Export”“Import/Export”.
    • Choose “Export to a file”“Outlook Data File (.pst)” and select the email account.
    • Complete the export and save the .pst file.

Step 3: Update DNS Records for Systron.net

  1. Log into GoDaddy’s DNS Settings:
    • Go to “My Products”“Manage DNS”.
    • Note down your A Records, MX Records, and any Custom CNAME Records.
  2. Modify the DNS Records at Systron.net:
    • After the transfer is complete, go to Systron.net’s DNS Management Panel.
    • Replicate the DNS settings using the details you noted.

Step 4: Transfer the Domain to Systron.net

  1. Initiate the Transfer at Systron.net:
    • Log into your Systron.net Account.
    • Go to “Domain Services”“Transfer Domain”.
    • Enter your domain name and paste the Authorization Code you received from GoDaddy.
    • Follow the on-screen instructions to complete the transfer.
  2. Approve the Transfer:
    • Check your email for a transfer confirmation from GoDaddy.
    • Click the “Approve Transfer” link in the email.

Step 5: Upload Website Data and Restore Emails

  1. Upload Website Files:
    • Use Systron.net’s cPanel File Manager or an FTP client like FileZilla.
    • Navigate to “Public_html” and upload the .tar.gz backup file.
    • Extract the file and ensure all directories are correctly placed.
  2. Restore Email Accounts:
    • Set up email addresses using Systron.net’s Email Management panel.
    • Use Outlook to import the .pst file for each email account.

Step 6: Verify the Migration

  1. Check Website Functionality:
    • Test your website using the new URL at Systron.net.
    • Check for broken links, missing images, and database connectivity.
  2. Test Email Accounts:
    • Send and receive test emails to ensure that they are correctly routed through Systron.net’s mail servers.

Section 2: Transferring from Hostinger to Systron.net

Step 1: Unlock Domain and Get the Authorization Code

  1. Log into Hostinger and navigate to the “Domains” section in the hPanel dashboard.
  2. Click on the specific domain you want to transfer.
  3. Unlock the Domain:
    • Look for the “Domain Lock” option under Domain Settings.
    • Toggle it Off to unlock the domain.
  4. Get the EPP Code (Authorization Code):
    • Scroll to the “Transfer” section and click on “Request EPP Code”.
    • Hostinger will send the EPP Code to your registered email address.

Step 2: Backup Website and Email Accounts

  1. Website Backup:
    • In hPanel, go to “Files”“Backups”.
    • Choose “Generate New Backup”.
    • Once the backup is complete, download the generated .zip file to your local system.
  2. Database Backup (if applicable):
    • Access “phpMyAdmin” from the “Databases” section.
    • Select your website’s database, click on “Export”, and download the .sql file.
  3. Email Backup:
    • If using Hostinger’s email services, open hPanel and go to “Emails”.
    • Click on the specific email account.
    • Use the “Export” feature to save your emails to your local system.

Step 3: Update DNS Records

  1. Log into the hPanel DNS Zone Editor.
  2. Note down your existing A, MX, CNAME, and TXT Records.
  3. After transferring to Systron.net, replicate these records in Systron.net’s DNS Management Panel.

Step 4: Initiate the Domain Transfer to Systron.net

  1. Log into your Systron.net account.
  2. Go to the “Transfer Domain” section and enter your domain name.
  3. Paste the EPP Code received from Hostinger and initiate the transfer.
  4. Check your email for a transfer confirmation link and approve it.

Step 5: Restore Website and Emails at Systron.net

  1. Upload Website Files:
    • Use the File Manager in Systron.net’s cPanel or an FTP client.
    • Navigate to “Public_html” and upload your backup .zip file.
    • Extract and place the files in their respective directories.
  2. Restore Databases:
    • Use phpMyAdmin in Systron.net’s cPanel.
    • Create a new database and import the .sql file.
  3. Restore Emails:
    • Set up the same email addresses in Systron.net.
    • Import your emails using tools like Outlook.

Step 6: Final Verification

  • Test your website and email functionality.

Section 3: Transferring from BlueHost to Systron.net

Step 1: Unlock Domain and Get EPP Code

  1. Log into BlueHost and go to “Domains”.
  2. Click on “Manage” next to the domain you want to transfer.
  3. Unlock the Domain:
    • In the Domain Management section, find the “Registrar Lock” option.
    • Toggle it to Off.
  4. Get the Authorization Code:
    • Scroll down to the “Transfer” section and click on “Get EPP Code”.
    • BlueHost will email the code to your registered email address.

Step 2: Backup Your Website and Email Data

  1. Website Backup:
    • Go to cPanel and click on “Backup”.
    • Select “Generate Full Backup” and download the .tar.gz file.
  2. Database Backup:
    • In cPanel, access “phpMyAdmin”.
    • Select your database, click “Export”, and download the file.
  3. Email Backup:
    • Open Webmail and go to “Export” under Account Settings.
    • Save your email data to a .mbox or .pst file.

Step 3: Modify DNS Records

  1. Go to DNS Zone Editor in BlueHost’s cPanel.
  2. Document all existing DNS records (A, CNAME, MX, and TXT).
  3. Update these records at Systron.net once the domain transfer is complete.

Step 4: Transfer Domain to Systron.net

  1. Log into Systron.net and go to “Transfer Domain”.
  2. Enter your domain and the EPP Code received from BlueHost.
  3. Confirm the transfer request via the approval email sent by BlueHost.

Step 5: Restore Data and Emails at Systron.net

  1. Upload Website Files:
    • Use cPanel File Manager at Systron.net.
    • Upload the .tar.gz backup file and extract it.
  2. Import Database:
    • In phpMyAdmin, create a new database and import the .sql file.
  3. Email Restoration:
    • Set up the same email addresses and import your .mbox or .pst files.

Step 6: Test and Verify

  • Test the website and email functionality.

Section 4: Transferring from BigRock to Systron.net

Step 1: Unlock Domain and Get the Authorization Code

  1. Log into your BigRock account and go to “Domain Management”.
  2. Unlock the Domain:
    • In the “Security” section, turn off “Domain Lock”.
  3. Get the Authorization Code:
    • Click on “Get EPP Code” in the “Transfer” section.
    • The code will be sent to your registered email.

Step 2: Backup Website and Email Accounts

  1. Website Backup:
    • Access BigRock’s cPanel.
    • Navigate to “Files”“Backup Wizard”.
    • Click “Full Backup” and download the generated backup file.
  2. Database Backup:
    • Open phpMyAdmin, select your database, and click “Export”.
  3. Email Backup:
    • Go to Email Accounts in cPanel.
    • Use an email client like Thunderbird to export emails from your BigRock account.

Step 3: Update DNS Records

  1. In BigRock’s DNS Management panel, take note of your DNS settings.
  2. After the transfer is complete, update these records in Systron.net’s DNS panel.

Step 4: Transfer the Domain to Systron.net

  1. Log into Systron.net and navigate to “Domain Transfer”.
  2. Enter your domain name and paste the EPP Code.
  3. Approve the transfer via the link sent by BigRock.

Step 5: Restore Website and Email Data at Systron.net

  1. Upload Website Files:
    • Use the File Manager to upload the backup file and extract it.
  2. Import Databases:
    • Create a new database and import your .sql file using phpMyAdmin.
  3. Email Setup:
    • Set up email addresses and import the backup data.

Step 6: Test the Website and Email Services

  • Visit your site to check for functionality.
  • Send and receive emails to ensure everything is set up correctly.

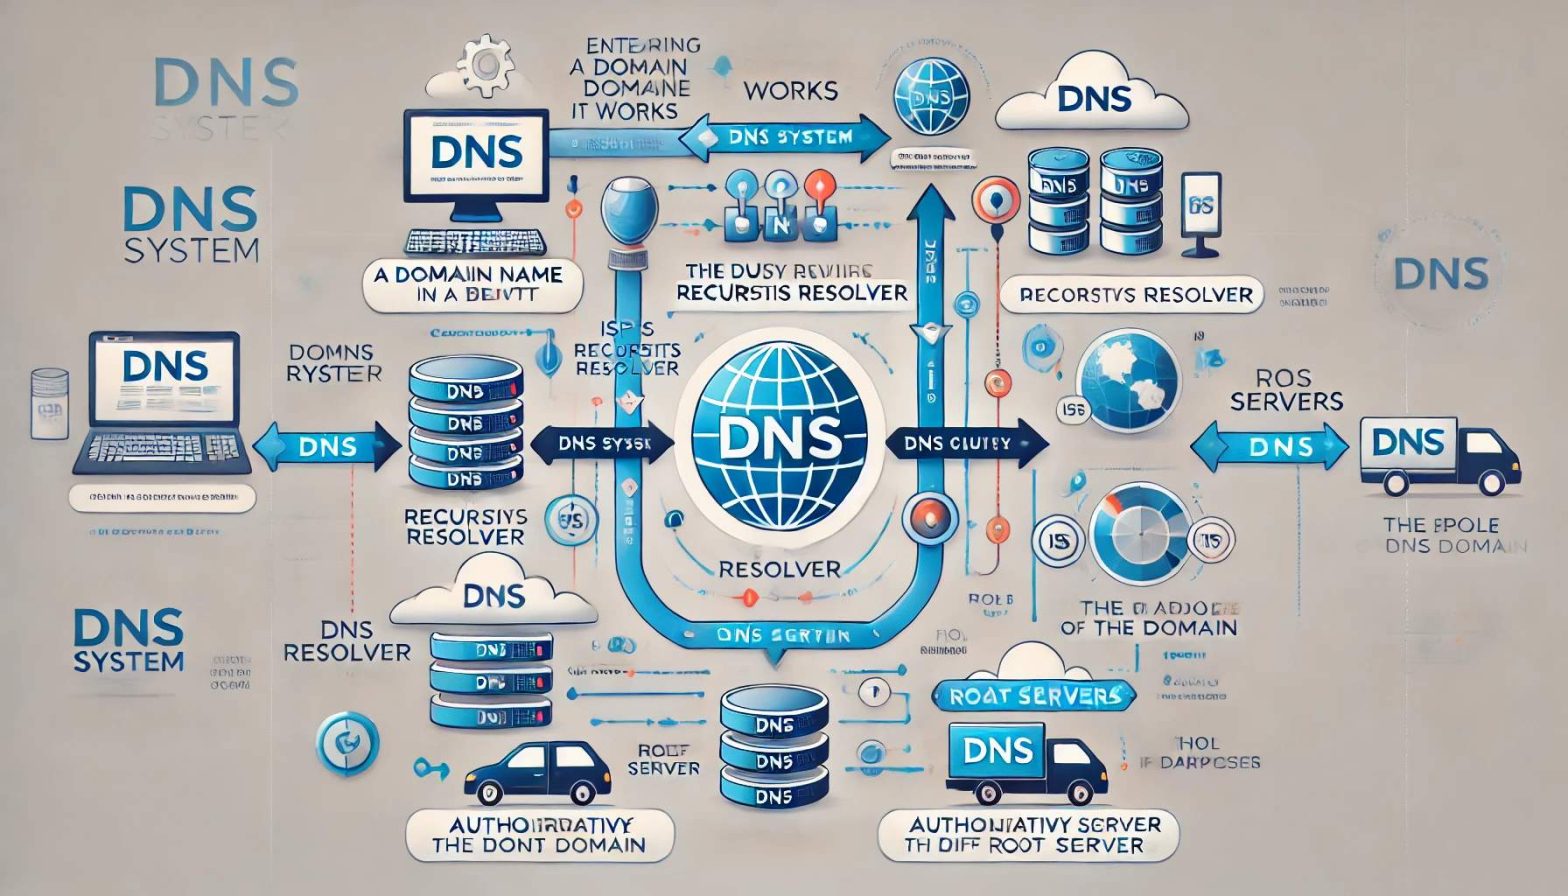
How the Domain Name System (DNS) Works?

The Domain Name System (DNS) is a foundational protocol that allows browsers to locate and load websites. It translates human-readable domain names (like example.com) into IP addresses, which are necessary for computers to communicate over the internet.

Key Steps in DNS Operation:

  1. Domain Query: When a user enters a website URL, the browser queries the DNS to find the corresponding IP address.
  2. Recursive DNS Resolver: The query is sent to a DNS resolver, which checks its local cache to see if it already knows the IP address.
  3. Root Server: If not cached, the resolver sends the request to a root server, which directs it to the appropriate Top-Level Domain (TLD) server (e.g., for .com or .org).
  4. TLD Server: The TLD server responds with the authoritative name server for that domain.
  5. Authoritative DNS Server: Finally, this server provides the correct IP address for the requested domain, allowing the browser to connect and load the website.

Major DNS Protocols:

UDP (User Datagram Protocol): Primarily used for DNS queries due to its speed, although it is less reliable.

TCP (Transmission Control Protocol): Used for DNS zone transfers and in cases where UDP queries fail.

DNSSEC (DNS Security Extensions): Adds security to DNS by validating responses, ensuring they haven’t been tampered with.

DNS Applications:

  1. Web Browsing: Converting domain names into IP addresses for user access.
  2. Email Routing: DNS is crucial for mail servers, using MX records to find the destination of emails.
  3. Content Delivery Networks (CDN): CDNs use DNS to distribute traffic to various geographically distributed servers for faster content delivery.

New Developments in DNS:

Encrypted DNS: With growing concerns over privacy, technologies like DNS over HTTPS (DoH) and DNS over TLS (DoT) have emerged. These protocols encrypt DNS queries, preventing third parties from intercepting and manipulating them.

Next Generation DNS: Efforts are underway to improve DNS performance with technologies like DNS Fast Flux and Anycast Routing, which enhance speed and reliability, especially for global services.

By leveraging a deep understanding of how the Domain Name System (DNS) works, users can enhance their internet performance and solve common issues effectively. For instance, switching to faster public DNS servers like Google (8.8.8.8) or Cloudflare (1.1.1.1) can improve browsing speed. Regularly clearing your DNS cache helps avoid DNS cache poisoning and ensures that your browser retrieves the most current IP addresses. Additionally, using encrypted DNS protocols such as DNS over HTTPS (DoH) and DNS over TLS (DoT) protects your data from being intercepted.

Common DNS Issues and Troubleshooting Tips:

  1. Slow DNS Resolution:
    Solution: Switch to faster public DNS servers like Google DNS (8.8.8.8) or Cloudflare DNS (1.1.1.1). This can reduce lookup times.
  2. DNS Cache Poisoning:
    Solution: Clear your DNS cache regularly and use DNSSEC to protect against forged responses.
  3. DNS Server Not Responding:
    Solution: Restart your router or switch to another DNS server. Use the command ipconfig /flushdns to clear local cache.
  4. Incorrect Website Display or Errors:
    Solution: Flush DNS using system commands (ipconfig /flushdns for Windows or sudo dscacheutil -flushcache for macOS).

        DNS Tips and Tricks:

        Custom DNS Settings: Configure DNS settings in your router for the entire network, ensuring faster and more reliable browsing.

        Use Secondary DNS Providers: Set a secondary DNS server in case the primary one fails.

        Privacy-Oriented DNS: Use DNS providers like Quad9 (9.9.9.9) or Cloudflare’s 1.1.1.1, which emphasize user privacy and security.

        DNS Troubleshooting Commands:

        1. Flush DNS Cache:
          Windows: ipconfig /flushdns
          macOS: sudo dscacheutil -flushcache
          Linux: sudo systemctl restart nscd
        2. Change DNS Settings:
          In your network settings, update your primary and secondary DNS servers to public DNS providers like Cloudflare or Google.
        3. Check DNS Server Health:
          Use the command nslookup or dig to check if a domain is resolving properly.
        4. Inspect for DNS Leaks:
          Use online tools like dnsleaktest.com to ensure your DNS queries are private, particularly when using a VPN.

              DNS Best Practices:

              Set Up a Local DNS Cache: This reduces repeated DNS lookups and accelerates web access.

              Use DNSSEC: Enable DNSSEC to validate DNS queries and protect against data tampering.

              Optimize Router DNS Settings: Apply DNS configurations on the router level to provide a streamlined browsing experience for all devices on your network.

              Various DNS Servers Overview: Features, Advantages, and Disadvantages

              1. BIND (Berkeley Internet Name Domain)
                Features: Highly configurable, supports all DNS record types, DNSSEC support, commonly used for enterprise and ISPs.
                Advantages: Open-source, highly flexible, widely supported.
                Disadvantages: Can be complex to configure and manage, resource-intensive.
              2. Unbound
                Features: Recursive DNS server, DNSSEC validation, supports DNS-over-TLS and DNS-over-HTTPS.
                Advantages: Lightweight, strong privacy features, fast and secure.
                Disadvantages: Limited zone management capabilities compared to BIND.
              3. PowerDNS
                Features: Supports both authoritative and recursive modes, DNSSEC support, API access.
                Advantages: Fast performance, robust API, modular with support for database backends.
                Disadvantages: More complex to configure than other DNS solutions.
              4. Knot DNS
                Features: High-performance authoritative DNS server, supports DNSSEC, dynamic updates.
                Advantages: Optimized for performance, lightweight, great for large-scale deployments.
                Disadvantages: Primarily designed for authoritative DNS, less suited for recursive functions.
              5. NSD (Name Server Daemon)
                Features: Authoritative DNS server, supports DNSSEC, highly secure.
                Advantages: Lightweight, simple configuration, ideal for authoritative-only DNS setups.
                Disadvantages: Lacks support for recursive DNS queries.
              6. djbdns
                Features: Secure, modular DNS server suite, with separate services for different functions.
                Advantages: Strong security focus, modular design, easy to maintain.
                Disadvantages: Lacks modern features like DNSSEC, not widely used anymore.
              7. Windows Server DNS
                Features: Integrated with Windows Server, supports dynamic DNS, DNSSEC, Active Directory.
                Advantages: Seamless integration with Microsoft environments, easy to manage in Windows.
                Disadvantages: Limited to Windows environments, higher licensing costs.

                          Conclusion:

                          Choosing the right DNS server depends on the specific needs of your infrastructure. For enterprise-level DNS management, BIND and PowerDNS offer powerful flexibility and control. For simpler setups focused on speed and security, Unbound or NSD might be ideal. Knot DNS excels in high-performance environments, while Windows Server DNS is optimal for Microsoft-centric networks.